In need of a mouse pad for my room-to-room roving laptop I made a quick no-sew version from fabric and cork. I thought I'd share the process in a first ever Funky & Delightful tutorial.
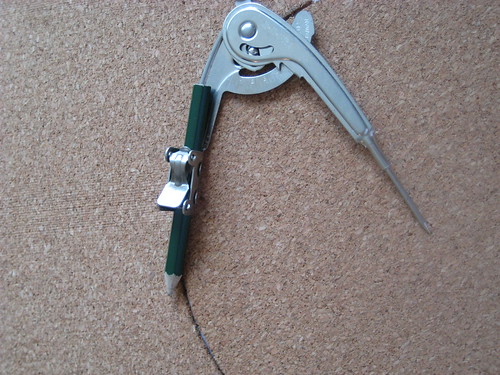
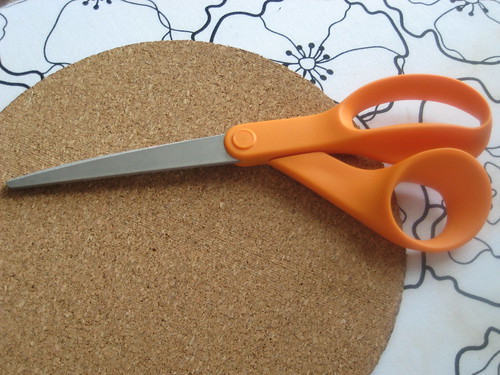
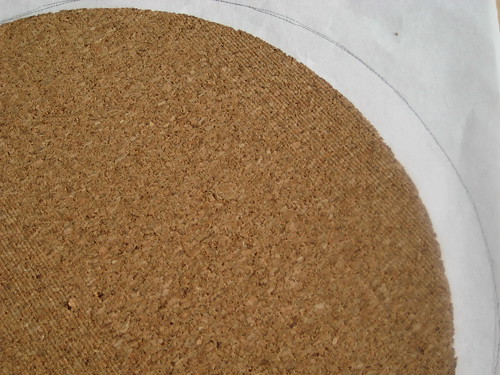
Trace and cut the desired shape from a piece of cork. My mouse pad is an 8” circle.
Using the piece of cork as a template, trace the shape onto the paper backed side of double-sided fusible web. I used
Heat ‘n’ Bond Ultra.
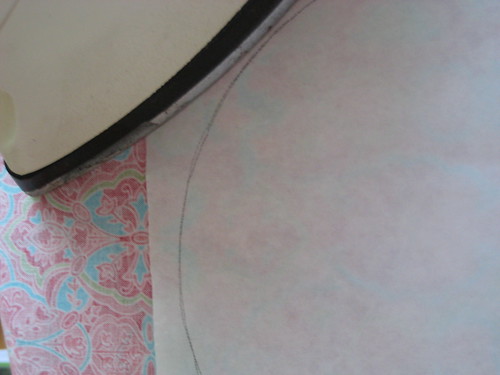
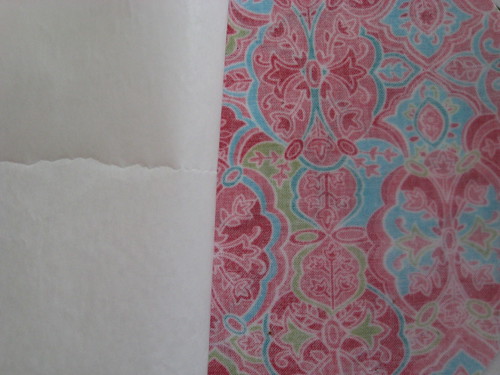
With fabric right side facing down and fusible web paper side up, fuse the web to the fabric following the instructions provided by the manufacturer.

Cut the shape from the fused fabric.
Remove the paper backing and position the fabric right side up on the cork.
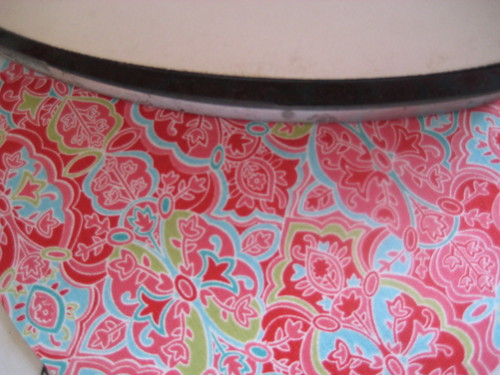
Fuse the fabric to the cork according to the manufacturer's instructions. Place the finished piece under a stack of books for a few minutes as the glue cools to prevent curling and ensure a good bond.
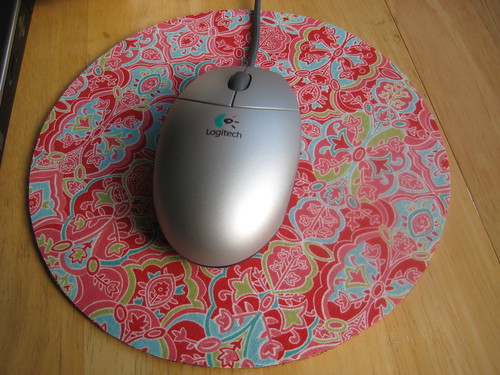
Get to clicking. You now have a custom mouse pad.
The same idea could easily be applied to cork backed coasters. Or elevate the idea into functional art. Pop cork backed fabric into flea market frames spray painted to coordinate with your fabric. Hang en masse anywhere you need to pin up notes, pieces of inspiration, or add a shot of color.


21 comments:
I LOVE this! What a great tutorial. And I love the idea of making little message boards too! Thanks for posting this!
Amber
Cute project!
I have the same ironing board cover!
Just found your blog. Love the mouse pad and thanks for the tutorial - where did you get the corkboard?
very cute idea!
This is so perfect-- I've been thinking about buying a new mouse pad that past few days and now I'll just make one!
what a fun idea! easy way to brighten up a dreary office space. thank you for sharing!
Very inventive. I'm making one as soon as I can!
What great ideas!!! I need more color around my office, so this is perfect. Thanks!
Really cute! I've been thinking I should do something about my mouse pad ever since I spilled a bottle of super glue on it. This would be so cute. Oh, and I can redo my bulletin board to match.
How cute! I just ordered a new laptop and can't wait to make a new mouse pad for my new computer! Thanks!
This is such a cool idea! I found a link for you on the makeitandloveit blog. Do you also know how to make the fabric flowers that are in your header? they're cute :)
Talk about being crafty! That's so great!
The Office Stylist
WHAT DID you place under the cork board to prevent it from SLIDING on the desk when you move the mouse???
Love, love this and am going to feature a link to your tutorial on my blog~these are so easy and cute!
Great idea! Now, how can I add a cushion for my sore wrist?
Bealtifull!!!!
I love!!!!
Kiss
Sonia
I like this tutorial! It's so crafty - and original. I've had a hard time finding cork sheets to craft with. Any tips?
Thanks so much for sharing.
Ann in NC
this is such a fun craft and great gift idea :)
Ann - the cork I used was actually cork placemats from Ikea. I've also seen rolls and squares of cork at both Target and Staples. Hope that helps!
Tory
I *never* would have thought to use double sided fusible! I'm so doing thing, like right now.
I am due for a new mouse pad, this would be so great! Thanks for the tutorial.
Post a Comment